The second game was played on Sunday at the Miniature Wargaming Society of Sacramento. The first game can be viewed at http://18clovehamhock.blogspot.com/2018/04/eumenes-2-vs-antigonas-0-part-one.html Gary and Dave commanded Antigonos' army while John and John commanded Eumene's troops.
The armies for both games were as follows. Where two numbers are shown for number of units this indicates left and right flanks respectively. The elephants are listed as left, center, and right. Troop numbers and types are based on the discussion on the Society of Ancients forum from the past year. In Scutarii ach unit represents about 500 infantry, 300-500 cavalry (300 for this battle) or four to five elephants. Infantry and cavalry units had two bases each and the elephants had one base. the rules do allow for using a single base for cavalry or infantry units.
There are some discrepancies in the number of troops in Diodorus account of the battle. This was discussed on the Society of Ancients Forum prior to April. Patrick Waterson suggested a remedy to the difference in the number of cavalry between the overall numbers and the individual unit totals by reducing the formation of 2200 Tarentine cavalry to 200 as there were seldom any great numbers of them and assigning 100 men to the formation that did not have any listed. There is no mention of light infantry in the account of the battle, but about 20,000 light infantry were provided to Eumenes by his supporters and light infantry are mentioned previously in Antigonos army. Hellenist armies often provided a light infantry escort for the elephants of 40 to 50 men. This would require about 3000 of the mercenaries in Antigonos army and account for about 6000 men in Eumenes army. The disposition of the other 12000 that are estimated to have been present presents a bit of a problem. If they are part of the elephant screen then they would either extend out past the flanks of the main battle line or form a solid line in front of it.
The players had some leeway in where they deployed their troops other than the phalanx centers. They had to keep their cavalry units on their historical flanks and the elephants kept their basic groupings of left, center, and right. The extra light infantry in Eumenes army ended up being deployed to the right of the phalanx in a sixteen rank deep formation, similar to the deployment of the light infantry in the Seleucid army at Raphia.
Under units where there are two numbers that is the number of units on the left and right flanks respectively. For the elephants the three numbers are for left, center, and right.
Antigonos
|
||||||||
UNIT
|
ATTACK
|
DEFENSE
|
MISSILE
|
MOVE
|
MORALE
|
POINTS
|
UNITS
|
POINTS
|
ANTIGONOS
|
ADD
1
|
X
|
X
|
14"
|
+/-
1 OR 0
|
free
|
1
|
0
|
Generals
|
ADD
1
|
X
|
X
|
14"
|
+/-
1 OR 0
|
free
|
9
|
0
|
Bodyguard
|
5
|
5
|
X
|
12"
|
11
|
12
|
0,1
|
12
|
Companion
|
4
|
5
|
X
|
12"
|
11
|
11
|
7,3
|
110
|
Heavy Cav.
|
3
|
5
|
(2")
|
12",
14"
|
10
|
8
|
5,3
|
64
|
Thracian horse
|
3
|
4
|
(2")
|
12",
14"
|
11
|
8
|
0,3
|
24
|
Horse Archers
|
2
|
4
|
4"
|
12",
14"
|
11
|
9
|
3,0
|
27
|
Mercenary
horse
|
3
|
5
|
(2")
|
12",
14"
|
11
|
9
|
0.2
|
18
|
Tarantine
cavalry
|
3
|
5
|
(2")
|
12",
14"
|
11
|
10
|
1,0
|
10
|
Macedonian
phalanx
|
3
|
6
|
X
|
6"
|
11
|
9
|
16
|
144
|
Pantipodoi
|
3
|
6
|
X
|
6"
|
10
|
8
|
16
|
128
|
Mercenary
Peltast
|
3
|
5
|
(2")
|
6", 8"
|
11
|
8
|
12
|
96
|
Lycians etc
|
3
|
5
|
(2")
|
6", 8"
|
11
|
7
|
6
|
42
|
Elephamt and
Lt Inf escort
|
4
|
6
|
4"
|
8"
|
10
|
13
|
3,6,7
|
208
|
883
|
||||||||
Eumenes
|
||||||||
UNIT
|
ATTACK
|
DEFENSE
|
MISSILE
|
MOVE
|
MORALE
|
POINTS
|
UNITS
|
POINTS
|
EUMENES
|
ADD
1
|
X
|
X
|
14"
|
+/-
1 OR 0
|
free
|
1
|
0
|
Generals
|
ADD
1
|
X
|
X
|
14"
|
+/-
1 OR 0
|
free
|
9
|
0
|
Bodyguard
|
5
|
5
|
X
|
12"
|
11
|
12
|
0,1
|
12
|
Companion
|
4
|
5
|
X
|
12"
|
11
|
11
|
6,4
|
99
|
Heavy Cav.
|
3
|
5
|
(2")
|
12",
14"
|
10
|
8
|
1,2
|
24
|
Light Cav
|
3
|
4
|
(2")
|
12",
14"
|
10
|
7
|
2.2
|
28
|
Thracian horse
|
3
|
4
|
(2")
|
12",
14"
|
11
|
8
|
2,0
|
16
|
HYP and Silver
Shield pike
|
4
|
6
|
X
|
6"
|
11
|
10
|
12
|
120
|
Mercenary
Phalanx
|
3
|
6
|
X
|
6"
|
11
|
9
|
12
|
108
|
Pantipodoi
|
3
|
6
|
X
|
6"
|
10
|
8
|
10
|
80
|
Light Infantry
|
2
|
4
|
6"
|
6", 8"
|
10
|
6
|
24
|
144
|
Elephamt and
Lt Inf escort
|
4
|
6
|
4"
|
8"
|
10
|
13
|
10,10,
10 |
390
|
1021
|
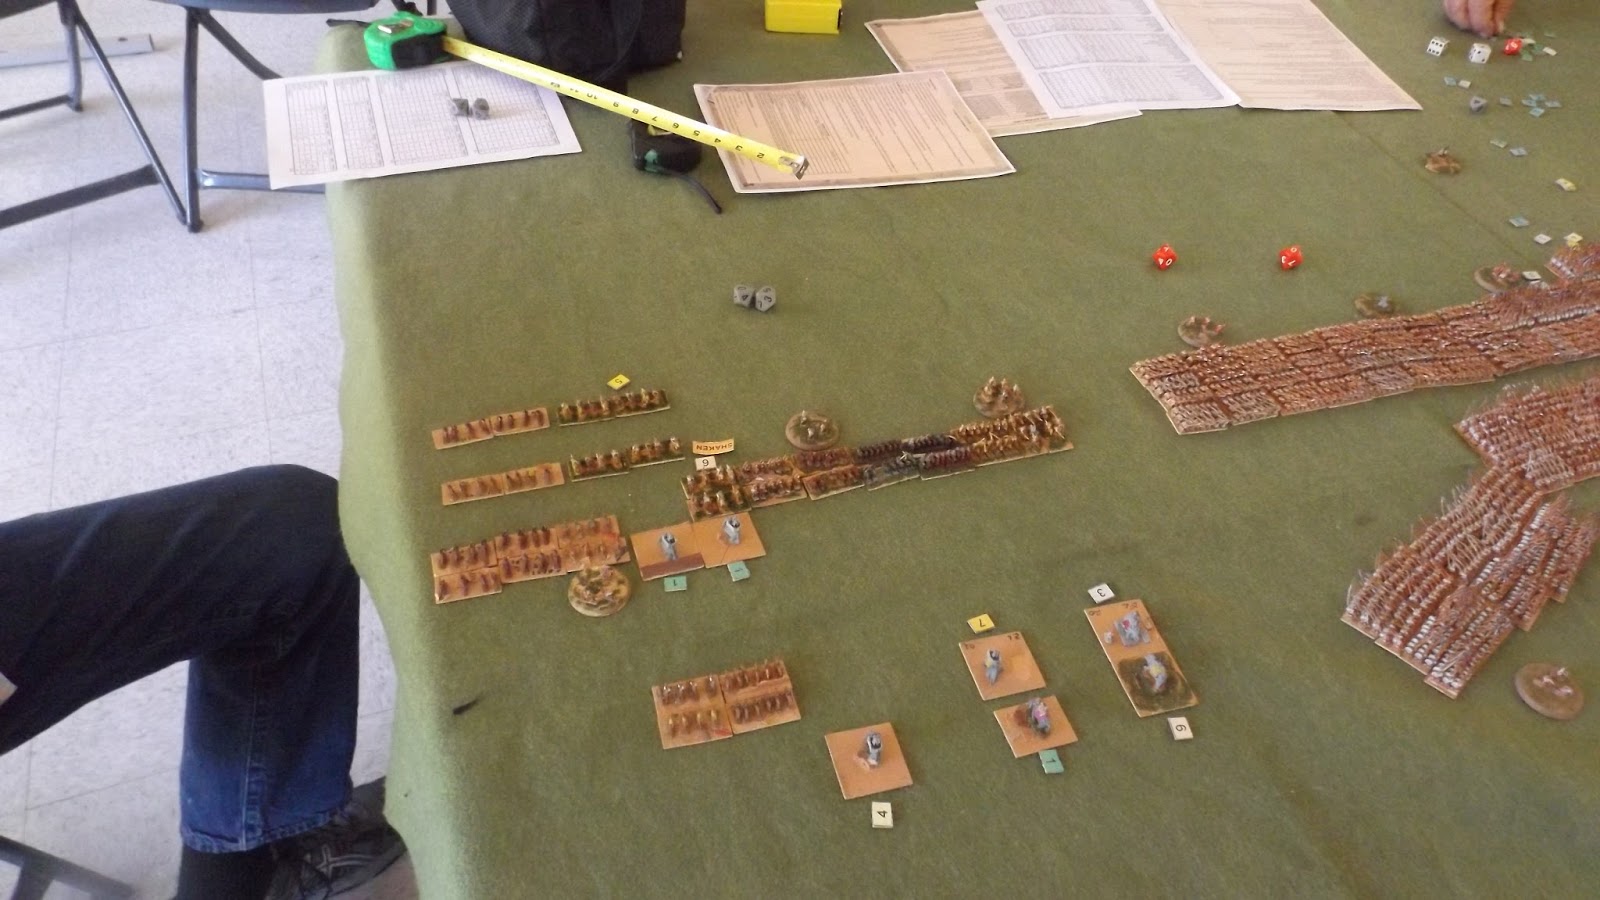
This time the Antigonid left flank cavalry was not as aggressive. The horse archers did move out to the flank and skirmished with opposing cavalry, but the other cavalry remained where it was in the battle line. The elephants of both armies engaged each other. On the other flank Antigonos' cavalry was gaining the upper hand and had driven off some of the opposing cavalry. The opposing phalanxes eventually made contact and after a drawn out fight lasting much longer than the previous game the Silver Shields again routed their opponents. The rout of the Antigonid center ended the battle with Gary and Dave conceding the game. Losses for Eumenes were about 1000 with over 15,000 of Antigonos' men routing. Pictures below.

Initial dispositions viewed from the hills.

Antigonos advances with the horse archers at the far end moving to the Eumenid flank.

Euminid commanders John and John

Antigonid commanders Gary on left and Dave on the right with an observer.

The armies advance.

View from the open flank as mercenaries and elephants make contact.

View from the hills as the opposing elephants collide and the Antigonid phalanx attacks some of them.

overview of the battlefield.

A gap opens in the Antigonid line as some of the mercenaries flee from the elephants.

The phalanxes clash.

view from the other side

Both sides start to take casualties

view of the battlefield from the hills

inconclusive fighting on the open flank

view from behind the elephants and light infantry. unengaged Antigonid heavy cavalry in right rear of picture.

Chris joined the game later on the Antigonid side taking over the phalanx.

Antigonid phalanx in trouble as most of the units become shaken

another view of the fighting as the left flank of the Euminid phalanx advances to take the place of the elephants that were driven off. Based on discussions on the Society of Ancients forum where it was noted that other than Magnesia and Zama it appeared to be that elephants would leave usually leave the battle instead of routing, we had them depart if they became shaken during a morale test.

Final view of the battlefield. Chris had just tested the morale of the phalanx units as once again the Silver Shields routed their opponents.. One unit of the Euminid pantipodoi is routing near the center of the picture, but had no effect on the other units.