
Tilly had originally intended to avoid a battle until after winter. However, Pappenheim, who had been ordered to locate the Swedes had engaged them and sent to Tilly for help. Tilly advanced his army to support Pappenheim. The armies fought the battle the next day. After a couple of hours of artillery fire being exchanged, Pappenheim led his cavalry against the Swedish right. Seeing this Tilly ordered Furstenburg to attack the Saxons and ordered the tercios to advance on them also. Pappenheim made six attacks against the Swedes and was repulsed each time. After being repulsed he led his cavalry from the field allowing the Swedish cavalry under Baner and Gustavus to encircle the Imperial army. Meanwhile the Saxons put up a token resistance and then fled from the field looting the Swedish baggage on their way. Isolano's Croatians arrived at this point to join in the pursuit and looting. Seeing the collapse of the Saxon army, the second line of Swedish infantry faced left and advanced to protect their left flank. The Swedes were able to capture the Imperial artillery and turn the guns on the tercios. Only one of the fourteen tercios was able to escape intact. Imperial casualties were 13,000 and an additional 5000 joined the Swedish army. The Swedes lost about 3000.
In order to speed up play during the first few turns dicing for move distances was replaced with infantry moving 5 inches per turn, cavalry 10 inches, and generals 14 inches. Normal dicing for move distances was used once units got close enough to make contact or declared charges.
Ranges for guns were Light - 20 inches, Medium - 40 inches, Heavy 50 inches. Muskets had a six inch range and pistols a two inch range. Ground scale was 1mm = one yard/meter.

Initial setup looking East. Imperial army is on the right and Swedes on the left

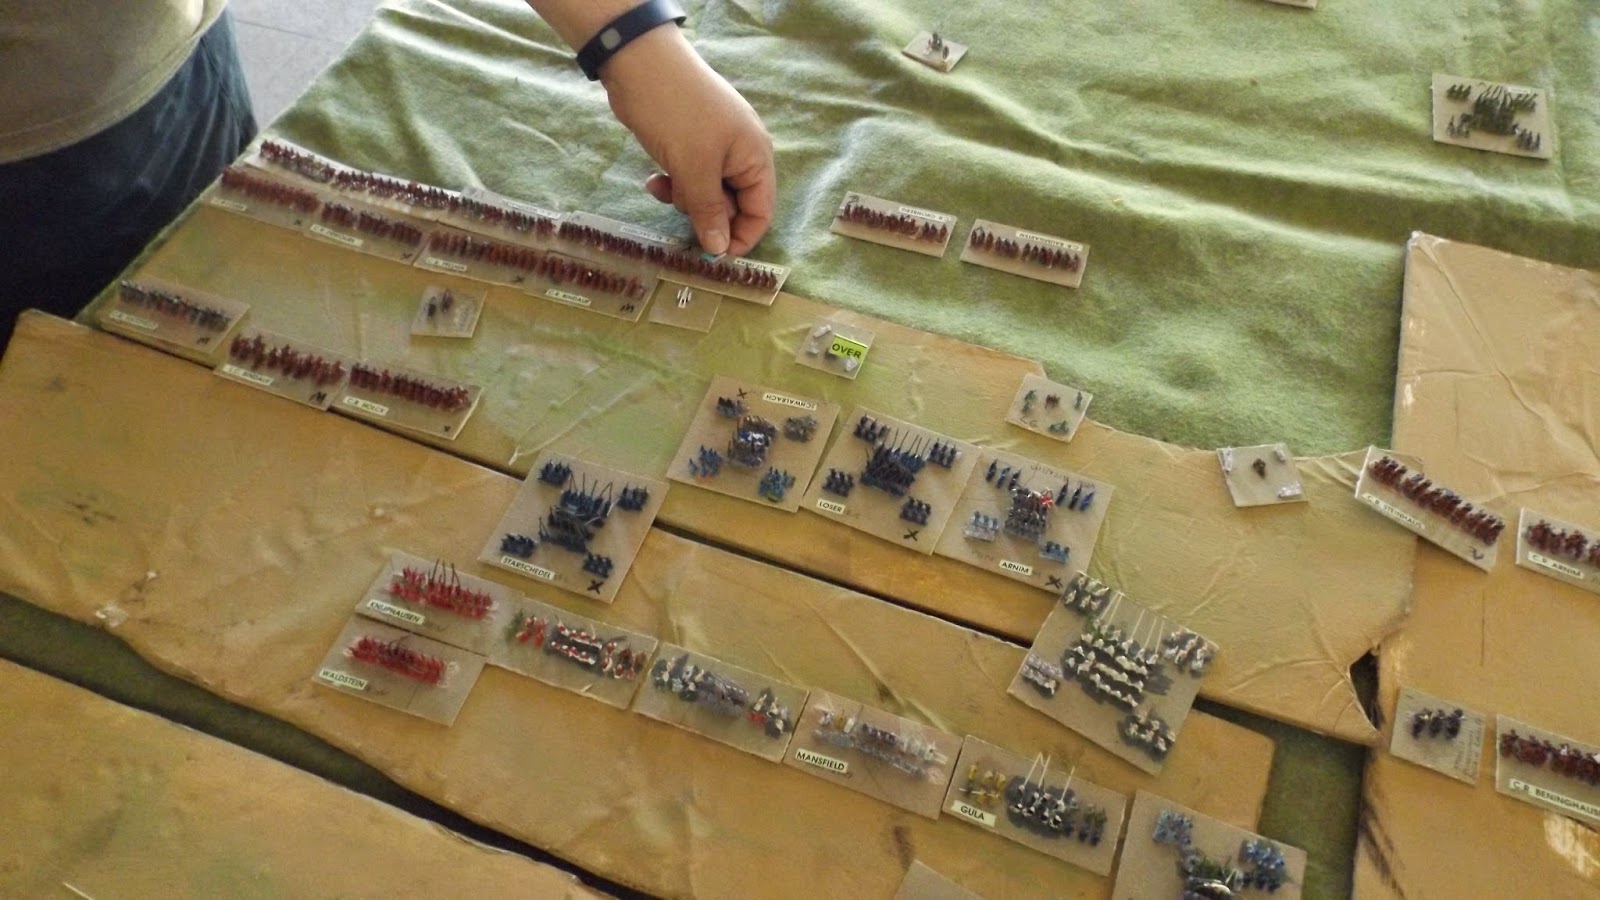
View looking west. Saxons on the right.

Robert on left and Manny on the right

Bill McHugh

First turn. Imperials moved first. Pappenheim's cavalry advance.

Furstenburg's cavalry advance towards the Saxons.

Swedish center advances. Each Swedish regiment consisted of three battalions of pike and shot and two light gun batteries.

Saxons advance to front of hill

2nd turn Saxon artillery fire has no effect. Troops in other parts of the battlefield closed on each other.

3rd turn. Pappenheim's cavalry charges the Swedish gun line.

Swedish and Imperial cavalry engage on west end of battlefield.

Swedes send second infantry line towards their left.

Imperial cavalry routs.

More Imperial cavalry rout after failing to halt and slamming into the Swedish infantry.
Furstenburg's cavalry engages Bindauf's Saxon cavalry.

Saxon cavalry rout taking most of the army with them. Surprisingly one of their cavalry units actually routed its opponent. The rest of the Saxon army then withdrew from the field. Four squadrons of Croatians would arrive to join in the fun of chasing the Saxons.

Intense fighting in the center. One battalion of the Swedish infantry regiment in the center was forced back while the other regiment threw back its attackers.

Baner's cavalry chases off Pappenheim's cavalry. The Swedish cavalry had units of commanded musketeers providing additional fire power.

More tercios advance on the Swedish line with Colloredo's cavalry behind them.

Furstenburg's cavalry advances towards the Swedish army. The Croats have arrived at the bottom of the picture.

Swedish second line is arriving on the left flank of the army.as four tercios break in the center.

The Imperial center and left flank are collapsing. The tercio on the right precipitated the collapse when it was outscored 6:1 on the combat die roll. The Imperial army conceded the field at this point as Baner's cavalry would be moving into their rear area.
The battle began about 11:30 and ended about 3:30 with a half hour lunch.
Repent or Die rates units from elite (best), veteran, regular, militia, to rabble (worst). Elites normally roll a d12, Veterans a d10, regulars a d8, militia a d6 and rabble a d4. The type of die can be modified by certain conditions and except for rabble will be reduced by one type if the unit is unformed. Firing and melee cause the units to receive disorder markers affecting the units' cohesion and morale. Units can be pushed back or rout from melee. Routs cause other friendly nearby units to check, possibly causing them to rout also.

THE SWEDISH AND SAXON ARMIES
| Unit | Strength | Rating | Unit | Strength | Rating | |
| Gustav II Adolph | Hepburne | |||||
| Schaffman | 4 | veterans | ||||
| Horn | Kochitzky | 4 | veterans | |||
| Upplander | 4 | veterans | Taupedel | 4Dragoons | regulars | |
| Baudisson | 4 | veterans | Thurn | 17R | regulars | |
| Caldenbach | 4 | veterans | Grona | 17R | veterans | |
| Courville | 4 | veterans | Vitzhum | 17R | veterans | |
| von Efferen-Hall | 4 | veterans | ||||
| von Efferen-Hall2 | 4 | veterans | Torstensson | |||
| Steinbach | 3CM | veterans | artillery | 2H, 4M | regulars | |
| hand1 | 3CM | veterans | ||||
| hand2 | 3CM | veterans | Johan Georg | |||
| oxenstern | 3CM | veterans | von Arnim | 12B | rabble | |
| von Arnim2 | 12B | rabble | ||||
| Baner | Loser | 12B | rabble | |||
| Smalander | 4 | elite | Loser2 | 12B | rabble | |
| Vastergotland | 4 | veterans | Starschedel | 12B | rabble | |
| Damitz | 4 | veterans | Starschedel2 | 12B | rabble | |
| Rhengreven | 4 | veterans | Klitzing | 12B | rabble | |
| Stalhandske | 4 | Fanatic | Klitzing2 | 12B | rabble | |
| Wunsch | 4 | Fanatic | Schwalbech | 12B | rabble | |
| Tott | 4 | veterans | Schwalbech2 | 12B | rabble | |
| Ostergotland | 4 | veterans | Schmbrg | 4 | regulars | |
| Livland | 4 | veterans | artillery | 4M | rabble | |
| Donhoff | 4 | veterans | ||||
| Sperreuter | 4 | veterans | Von Arnim | |||
| baner1 | 3CM | regulars | Arnim | 4CR | veterans | |
| baner2 | 3CM | regulars | Kurfurstin LG | 4CR | veterans | |
| baner3 | 3CM | regulars | Kurfurstin LG2 | 4CR | veterans | |
| baner4 | 3CM | regulars | Steinhaus | 4CR | rabble | |
| Teuffel | Bindauf | |||||
| Kings Own | 17R | veterans | Bindauf | 4CR | militia | |
| Oxenstierna | 17R | veterans | Bindauf | 4LC | militia | |
| Hand | 17R | veterans | Altenberg | 4CR | militia | |
| Blaa | 17R | regulars | Altenberg | 4LC | rabble | |
| Ortenburg | 4 | veterans | Loser | 4CR | rabble | |
| Ramsey | 3CM | veterans | Loser2 | 4CR | rabble | |
| Monro | 3CM | veterans | Pflugk | 4CR | rabble | |
| Hamilton | 3CM | veterans | Pflugk2 | 4CR | rabble |
The light guns attached to the Swedish regiments were all rated as veteran. Each strength point represents 100 men. Swedish 17R infantry regiments are organized as three infantry battalions in a wedge shape with one in front and two behind and have two batteries of light guns attached. 3CM are commanded musketeers. 4LC are light cavalry. Artillery H = heavy M= medium number = batteries, Saxon 12B are pike and shot blocks (a mass of poorly trained infantry), Saxon CR are armored caracole cavalry, all other Swedish cavalry are heavy cavalry.
For the Imperial Army T = tercio, HC = Heavy cavalry, Croats are light cavalry lancers, LC = light cavalry, all other cavalry are armored caracole cavalry, artillery groups are two heavy guns and one medium gun.
For both armies the actual historical strengths of the units varied. The strengths were averaged to 4 for mounted squadrons, 17 for the Swedish regiments, 15 for the Tercios, and 3 for the commanded muskets.
THE IMPERIAL ARMY
Unit |
strength | rating | Unit | strength | rating | |
| Tilly | Colloredo | |||||
| Tilly LG | 4 | veteran | Monteccelli | 4 | veteran | |
| Monteccelli2 | 4 | veteran | ||||
| Pappenheim | Erwite | 4LC | veteran | |||
| Strozzi | 4 | regular | Erwite | 4 | veteran | |
| Neu-Sachsen | 4 | veteran | Hareacourt | 4LC | regular | |
| Rangoni | 4 | regular | Coronino | 4LC | veteran | |
| Neu-Picollomini | 4 | regular | Colloredo | 4LC | veteran | |
| Alt-Picolomini | 4LC | veteran | ||||
| Alt-Picolomini | 4 | veteran | Furstenberg | |||
| Pernstein | 4 | veteran | Wengersky | 4HC | veteran | |
| Pernstein | 4 | veteran | Schonberg | 4 | veteran | |
| Merode | 4LC | veteran | Schonberg2 | 4 | veteran | |
| Alt-Sachsen | 4 | veteran | ||||
| Sachsen-Altenburg | career | Alt-Sachsen2 | 4 | veteran | ||
| Holstein | 15T | veteran | Cronberg | 4 | veteran | |
| Chiesa | 15T | veteran | Cronberg2 | 4 | veteran | |
| Gallas | 15T | veteran | ||||
| Neu-Sachsen-Furstenburg | 15T | veteran | Isolano | 4Croat | veteran | |
| Baldiron-Dietrichstein | 15T | veteran | Isolano2 | 4Croat | veteran | |
| Alt-Tilly | 15T | veteran | Isolano3 | 4Croat | veteran | |
| Geleen | 15T | veteran | Isolano4 | 4Croat | veteran | |
| Artillery | 2H, M | militia | ||||
| Von Wahl | career | |||||
| Goess | 15T | veteran | ||||
| Savelli | 15T | veteran | ||||
| Blankhardt | 15T | veteran | ||||
| Pappenheim | 15T | regular | ||||
| Comargo-Reinach | 15T | regular | ||||
| Wahl | 15T | veteran | ||||
| Wangler | 15T | veteran | ||||
| Artillery | 2H, M | militia |


