From the histories of Servius:
"The city of Rome was in turmoil. Caesar had crossed the Rubicon, bringing his legions with him in defiance of the Senate. Seeking to halt him, the senate sought Pompey the Great and begged him to lead an army against Caesar. Acceding to their request Pompey gathered an army and marched forth to engage Caesar. On an empty plain near some ruins the two armies faced each other and prepared to engage in a battle that would decide the fate of Rome......"
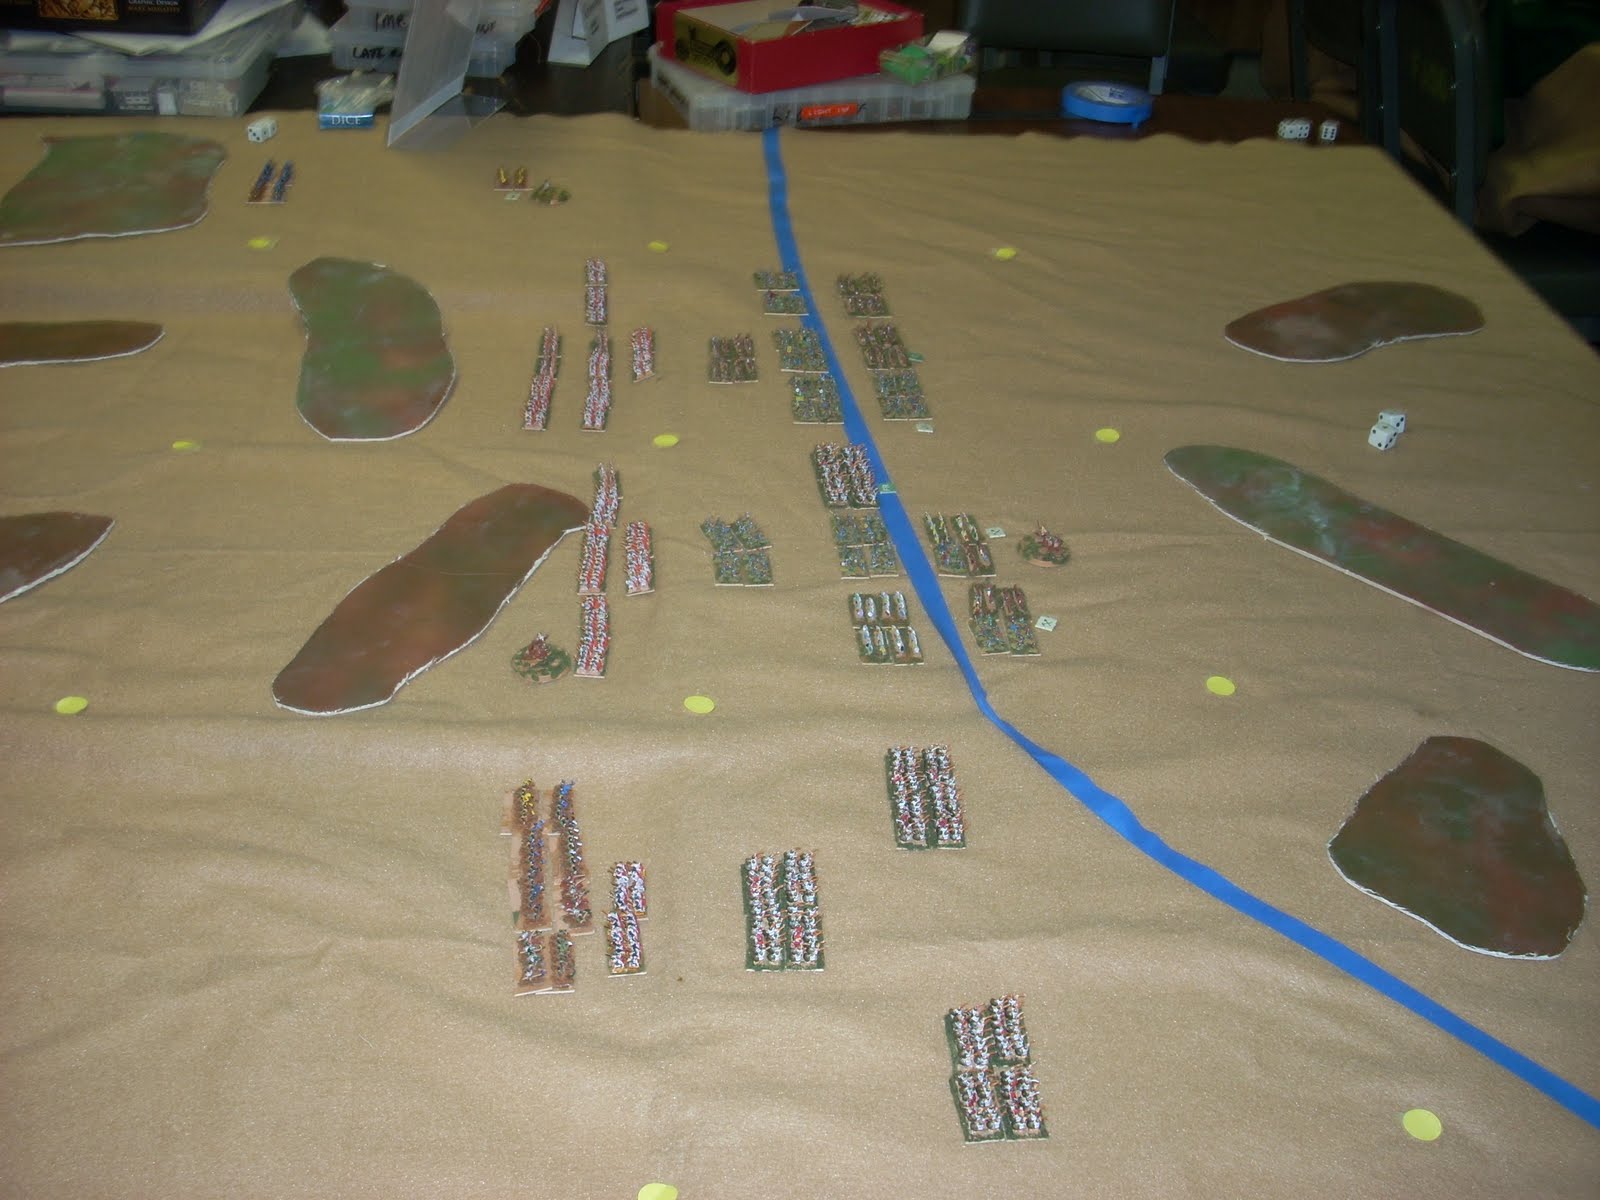
Our most recent club game was a Roman Civil War battle. Harold Wendell provided the figures and we used his Warfare in the Ancient World rules. Harold provided two similar armies for the battle. Both had two 96 figure legions. One army had slightly more auxiliary infantry while the other had a three figure advantage in cavalry. The battlefield was an open plain with some ruins on one flank. Though we had hoped to have more members present, various commitments resulted in only Ray Jackson, my daughter Brooke, and myself being present as players with Harold acting as umpire.
Both sides deployed their cavalry on the flank without the ruins as only the auxiliaries could enter them without being disordered. This was my right and Ray's left. Since the ruins were closer to Ray's side of the table, I decided to emulate Alexander the Greats tactics at Arbella. Both sides deployed their infantry in the standard Roman fashion with the legions forming the center of the battle line and the auxiliaries on the flanks. Ray placed the artillery from his legions on the outer flank of their respective legions and his deployment was only slightly offset to his right due to his cavalry being on his left. My deployment had all my artillery concentrated between my left legion and the auxiliaries to its left. I also had shifted my infantry more to the right so that my left legion was opposite Ray's left legion.
My plan was to hold in place with the auxiliaries on the left, advance the left legion in an oblique formation that would form a connection between the left auxilia and the right legion. The intention was for the right legion to engage Ray's left auxiliaries, destroy it then turn on the left flank of Ray's legions. My cavalry was to advance towards their opposites with the support of missile fire from the right flank auxiliaries. Since I had an extra mounted officer, I had formed my cavalry into two 9 figure units and planned to position them with the auxiliaries between the two groups. My intention was to position the two cavalry groups in such a manner that if Ray attacked one the other would be able to attack the flank of Ray's cavalry.
Unfortunately the batteries in my camera were low and I was unable to take any pictures. Instead I have posted some drawings of the battle. Ray's forces are in purple at the top. The forces in red are Brooke's and mine.
Ray won the die roll for initiative and elected to move first. He immediately advanced his cavalry as far as it would go and moved his infantry and artillery forward in a single line. Our response was to advance the cavalry move the right wing infantry up behind them. Our right legion did a maximum move forward and the left legion advanced its cohorts forward at different rates to maintain the connection between the left flank which only advanced a short distance and the right legion.
We won the initiative for the second turn and elected to have Ray move first again. Ray again advanced his cavalry as far forward as he could, occupied the ruins with his right flank infantry and maintained a continuous battle line with his infantry.
We positioned our two cavalry groups so that they were on the flanks of the right wing infantry and could get a flank attack on Ray's cavalry if he attacked the infantry and one of the cavalry groups. This turn both sides were within artillery range and our right wing infantry was within missile range of his cavalry. Our missile fire was ineffective, but Ray managed cause some damage with his artillery.

Ray won the initiative for the third turn and charged his cavalry into the infantry and our right cavalry group. Fortunately our infantry passed its morale test and did not flee. Ray continued to advance his infantry in a continuous line and his right wing advanced forward from the ruins. Our move for the turn saw our left cavalry group fall upon the flank and rear of Ray's cavalry. Our right legion made a full advance shifting slightly to the right and the left legion stretched further. Ray's missile fire was once again more effective than ours with his artillery causing quite a bit more damage and his left wing auxiliaries causing a few casualties to our right legion. Then it was time to resolve the melee. Ray's cavalry had twice the armor value of our infantry, but we had an advantage in the number of figures engaged in combat plus the flank attack bonus for part of our cavalry. Though Ray did cause quite a bit of damage to our infantry and killed a few cavalry, our response was deadly. We eliminated the three stands of three figures on the right end of Ray's battle line and inflicted casualties on some of the other stands. The commander of our right cavalry group was killed, but the horse passed its morale. One of our infantry stands failed its morale and fled. On the other flank another infantry stand also failed its morale test for casualties caused by the enemy artillery. One of the sub-ordinate commanders was able to rally it later.

We won the initiative for the fourth turn and surrounded the remaining four stands of Ray's cavalry. This time we also had some infantry who were able to gain the flank attack bonus. Since we did not need all the auxiliaries to engage the opposing cavalry we advanced about half of them towards their opposite numbers. Our right legion advanced and was now within contact distance of Ray's left wing auxiliaries. On the previous turn our left legion had moved to a position where it was offset from the left end of the opposing legion. Now it attacked the left cohort of Ray's legion with its first and second cohorts and an 8 to 3 advantage in numbers. Harold's legions are organized into three stand cohorts and usually are formed three stands deep. The first cohort has 15 figures and the rest have 9. At a ratio of fifty men per figure each cohort is slightly understrength. After movement was finished it was time to resolve missile fire. This time our missile fire was devastating. Brooke eliminated several enemy stands with the right wing auxiliaries and our artillery fire finally had some effect. Melee saw Ray's cavalry reduced to four figures from its original 21 and the tenth cohort of his left legion was completely destroyed.
The question now was "Who would win the initiative for the fifth turn. If we won we would be able to gain a flank attack on part of Ray's left legion. Our right legion would be able to engage the artillery and a good portion of the auxiliaries facing them. Whether we won the initiative or not we would also be able to free up part of our cavalry so that it could start a sweep around the left flank of Ray's army and move towards the rear of Ray's legions. If Ray won the initiative he would be able to keep his legion from being flanked and back his auxiliaries away from our right legion before it could move to engage them. Before we rolled for initiative Ray elected to concede the game as it was unlikely that his cavalry would survive past the fifth turn, our right wing would have an overwhelming advantage against his left wing, while his right legion and auxiliaries would not be able to be in position to engage our forces for a couple of turns
From the histories of Servius:
"......With the battle lost Caesar fell on his sword. Pompey was given a triumph and his family's prestige was greatly enhanced. An assassination attempt by Octavian and Mark Antony the following year was thwarted and the plotters were crucified. Pompey lived a full life and passed away in his sleep. His eldest son became Imperator of Rome."